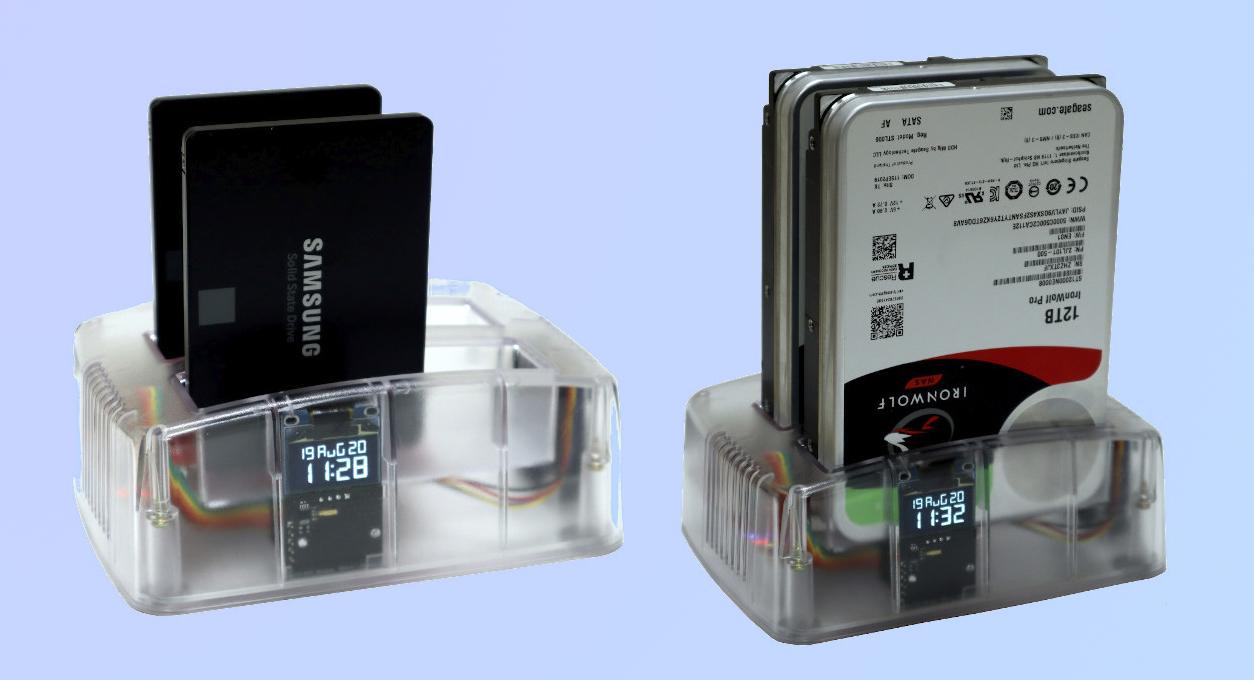
NAS - Network Attached Storage
An easily accessible network-wide data store, and a great starting point to delving into the world of home labs and self hosting.
Why NAS
This is probably the best starting point when going down the self-hosting path. It’s very simple to do, and is something that is both simple to do, and is infinitely useful.
SMB is the commonly used NAS protocol, and one that works quite seamlessly across Windows, MACs, Linux and Mobile devices. It acts as a single point to store all data (documents, videos, photos, music…), which can then be shared across devices in your network. Having all the data at a single point has other advantages too. Performing backups becomes easier, and the simple job of sending content from one device to another would not need to involve a cloud provider or worse, a messaging service.
Pre-packaged NAS solution
Open Media Vault is one of the more commonly used solutions for NAS. It provides a nice graphical interface accesible through a browser, which allows you to manage your drives, shares and users. It also comes pre-installed with tools to monitor disk health. It provides an interface to install containers so users can graphically deploy additional services, such as media servers or download managers.
Installing OMV, x86 version
If you are using an X86 CPU, installing OMV is very straight forward. Their website provides an ISO that can be downloaded, and they provide references to write the ISO to a suitable USB stack. Boot up the x86 box from the USB stick, and follow the on-screen installer to install OMV on your H/W.
Installing OMV, ARM version
Given the number of differences in base environments and SBCs, rather than provide a packaged installer, OMV chose to standardize on Debian and derivatives such as Armbian and Raspberry Pi OS.
Start by installing the Debian-based OS first on the device. This guide has the steps on how that can be done. Once the box is ready, log into the box, and run the following command:
wget -O - https://github.com/OpenMediaVault-Plugin-Developers/installScript/raw/master/install | sudo bash
Using OMV
Login
Simply open a browser and point it to http://<your device ip>. The default login to be used is:
Username: admin
Password: openmediavault
The interface may seem a little cumbersome initially, but then it is needed only to set up the device. Once the device is up and running, the access for it would be from other devices, through an interface you are familiar with. Start by doing the following operations:
- Change the admin password
- Create a user
Create Shares
Note that configuring a device which is already formatted is cumbersome with OMV. It is better to use a brand new hard disk, and format it using a file system which OMV supports, rather than use an existing hard disk and struggle with setting up the shares and directories.
- Plug in the hard drive. You may need to reboot once to see the device detected under Storage > Disks
- Navigate to Storage > Filesystems
- Click create, and create a new file system. EXT4 is ideal, though XFS and BTRFS are excellent choices too.
- Select the newly created filesystem and mount it
Now we have to create the shares. Typically store bought NAS devices create, by default, a set of shares that serve as a good starting point. A base set of shares would typically be something like “Photos”, “Videos”, “Music”, “Documents” and “Downloads”
- Navigate to Storage > Shared Folders
- Create all the shares you would need
Last step would be to make the shares available so computers and devices on the network can discover and use them.
- Navigate to Services > SMB/CIFS
- Under Settings select Enabled
- Under Shares, select Create and add all the shares you created in the previous step.
That’s about it. The NAS should be ready to use, and can be accessed from Windows explorer by typing \\<your device ip>, or from MAC Finder by connecting to server named smb://<your device ip>
NAS from the ground up
If you really need to use a pre-existing hard disk’s data and share the same, OMV is not the best solution. The better approach would be to set up a NAS from scratch, rather than use a pre-packaged solution.
Arugably, this is the easier of the two options. It gives complete flexibility to the user to set up the device as he wishes, rather than be limited by the (admittedly wide) selection offered by OMV. Still, the learning curve is definitely steep, and this is not an option for folks with an aversion to black screens full of text like cp and sudo.
Install and Set Up
Start by installing an OS first on the device. This guide has the steps on how that can be done. Once the box is ready, there are some preliminary configuration that needs to be done, followed by some software to be installed. The commands below assume this is a standard Debian-derivative. There are variations of these for all operating systems, though.
The first command is to allow the system to recognize hard disks formatted by Windows and MAC operating systems. Sometimes, this may already be in place, but this log into the box, and run the following command:
sudo apt-get install ntfs-3g hfsplus parted
Now connect your drive. The drive typically shows up as a block device, named something like “sda” or similar. The name of the device can be found out by running the command dmesg. This would show an output right at the end that looks like
[   40.498216]  sda: sda1 sda2
[   40.498513] sd 0:0:0:0: [sda] Attached SCSI disk
This indicates that the newly connected disk has the name “sda”, and the disk has 2 partitions named sda1 and sda2 respectively. I assume you would know which is the partition of interest. But sometimes, disks formatted in MACs have upwards of 12 partitions. In this case, the biggest partition would be the one of interest, and this can be checked by running sudo parted /dev/sda, assuming sda is the device indicated above. At the (parted) prompt, run print. This will list out all the partitions, and the sizes of each partition.
$ sudo parted /dev/sda
GNU Parted 3.4
Using /dev/sda
Welcome to GNU Parted! Type 'help' to view a list of commands.
(parted) print
Model: ATA ST4000DM004-2CV1 (scsi)
Disk /dev/sda: 4001GB
Sector size (logical/physical): 512B/4096B
Partition Table: gpt
Disk Flags:

Number  Start   End     Size    File system  Name       Flags
 1      1049kB  4001GB  4001GB               DataStore  msftdata
Mount the partition on the system.
sudo mkdir -p /mnt/disk1
sudo mount /dev/sda1 /mnt/disk1
Now, all the contents of the disk should be available under /mnt/disk1. Most modern Linux operating systems automatically recognize the disk format type and mount it automatically, without having the specify the type. In necessary, you could use mount -t ntfs /dev/sda1 /mnt/disk1 above, to explicitly specify the type.
Setting up the Shares
First, let’s get the software that does the sharing installed first. This is called Samba, as a play on the name of the underlying protocol, SMB.
sudo apt install samba samba-common
The installer may ask if you want to modify smb.conf to use WINS settings from DHCP. Choose Yes and press Enter.
The next step is to edit the samba configuration file and add all the shares you want. Use any text editor you prefer to edit the file /etc/samba/smb.conf. A simply editor called nano is usually packaged along with the base operating system.
sudo nano /etc/samba/smb.conf
Scroll down to the end of the file, and add the details of the shares you want. For example, to add two shares called “Documents” and “Videos”:
[Documents]
    path = /mnt/disk1/Documents/
    writeable = yes
    create mask = 0775
    directory mask = 0775
    public=no

[Videos]
    path = /mnt/disk1/Videos/
    writeable = yes
    create mask = 0775
    directory mask = 0775
    public=no
Setting up the users
To add a user called joe to the operating system, run the following commands
sudo adduser joe
sudo smbpasswd -a joe
Both those above commands will ask for passwords to be set. The first one is a password to log into the NAS itself, and the second is to connect to the NAS’s shares. They don’t have to be the same, but it’s just easier to remember if they are.
Once the shares and users are added, restart the Samba protocol to use the updated configuration.
sudo systemctl restart smbd
That’s about it. The NAS should be ready to use, and can be accessed from Windows explorer by typing \\<your device ip>, or from MAC Finder by connecting to server named smb://<your device ip>. Use the username “joe” when prompted, and the password set above when running smbpasswd. You should be able to see a list of the shares created in Explorer/Finder.
Make it restartable
You’ve run the commands to mount the hard disk, but to make the device mount the hard disk automatically in case it is rebooted, there is another step to be taken.
First, run the command sudo blkid. This will list out all the available disks and partitions, and their unique ID’s.
$ sudo blkid
/dev/mmcblk0p1: UUID="2c86d006-3667-43c3-b2bb-01c2dadddb93" BLOCK_SIZE="4096" TYPE="ext4" PARTUUID="878bebe6-01"
/dev/mmcblk0p2: LABEL="swap" UUID="a19c54a4-2e66-4df5-8677-ace19f844f5f" TYPE="swap" PARTUUID="878bebe6-02"
/dev/sda1: UUID="EBF7-87AC" BLOCK_SIZE="512" TYPE="exfat" PTTYPE="dos" PARTLABEL="DataStore" PARTUUID="60a5bae1-0556-4757-b208-a1864f09dd29"
From the above, I can see the partition of interest to me, sda1, and the various ID’s and labels assigned to it. There are two bits of information that are important to us here, the TYPE=XXX and the PARTUUID=XXX. Copy the part PARTUUID="60a5bae1-0556-4757-b208-a1864f09dd29". Edit the file /etc/fstab using nano again, and add the following line to the end.
PARTUUID="60a5bae1-0556-4757-b208-a1864f09dd29" /mnt/disk1 exfat defaults,noatime 0 2
Lets break this down. The PARTUUID is the bit that was copied earlier. The next bit, /mnt/disk1 is the place where the disk’s contents should be mounted. exfat is the TYPE from the previous output above. The rest of the configuration here tells the operating system to mount the partition with default options, to not record access time, and to check this disk for errors upon boot, but only after all the base system is certified as being all good.
With this, the disk should be mounted automatically at boot. It is possible to not use PARTUUID=XXX and just use /dev/sda1 instead, but if there are multiple disks connected, the disk could easily get renamed as sdb1 on the next boot. But the PARTUUID will remain unchanged.
References
- For those who prefer vids to words: Installing OpenMediaVault 6 on a Raspberry Pi 4
- A guide on setting it up the hard way: Raspberry Pi NAS! Build your own Raspberry Pi Samba Server